ERNIE-Image Comic Generation in Practice: Storyboarding, Character Consistency, and Speech Bubbles
Comic creation is a discipline that demands extremely high standards for visual consistency, layout planning, and typography. In the traditional workflow, artists need to iteratively refine character designs, storyboards, and speech bubbles. The introduction of AI-powered generation tools is transforming this workflow. ERNIE-Image, an 800M-parameter image generation model built on the DiT architecture, demonstrates clear advantages in multi-panel comic layouts, character consistency, and speech bubble text rendering. This article covers these core capabilities and outlines a practical, actionable comic generation workflow.
I. Three Core Challenges in AI Comic Generation
Before attempting AI-generated comics, it is important to understand several inherent challenges in this domain:
- Character consistency: When the same character appears across different panels, facial features, costume colors, and body proportions must remain stable. Most general-purpose image models produce character "drift" under different prompts.
- Layout planning: Comic panel structures (four-panel, six-panel, cinematic spreads) require the model to understand visual segmentation, sightline guidance, and pacing control—not simply fill frames with content.
- Speech bubble text rendering: Text inside dialogue bubbles must accurately match character lines, be clearly legible, and not compromise the overall visual aesthetics of the artwork.
These challenges determine that not every image generation model is well-suited for comic workflows. ERNIE-Image's strengths lie precisely in these three areas.
II. Why Choose ERNIE-Image for Comics
ERNIE-Image's technical characteristics align naturally with the demands of comic generation:
| Feature | Value in Comic Workflows |
|---|---|
| Multi-panel comic layout understanding | The model is trained on comic-style data and can naturally handle panel segmentation and layout structures |
| Text rendering capability | Scores 0.9733 on LongText-Bench, with high accuracy for speech bubble text |
| Strong instruction following | Stable parsing of complex instructions covering storyboard descriptions, character designs, and dialogue content |
| Flexible resolution | Adjustable from 64 to 2048px, suitable for various publishing and distribution scenarios |
| Turbo mode | Generates images in 8 steps, approximately 6× faster than Standard mode, ideal for rapid storyboard iteration |
The model offers two inference modes: Standard mode defaults to 50 steps with a recommended VRAM of 24GB; Turbo mode requires only 8 steps with a recommended VRAM of 12GB, running at approximately 6× the speed of Standard. In a comic workflow, it is recommended to use Turbo mode for rapid prototyping during the storyboard exploration phase, then switch to Standard mode for final rendering to improve detail quality.
III. End-to-End Workflow from Storyboard to Final Image
A stable comic generation workflow can be divided into four stages: storyboarding → character design → scene generation → dialogue bubbles. Each is covered below.
3.1 Storyboarding
The core of storyboarding is determining what narrative function each panel serves. It is recommended to create a storyboard table before generation, including the following fields:
- Panel order (panel number)
- Brief description of the scene
- Characters present
- Dialogue content (if any)
- Camera language (wide shot, close-up, low angle, etc.)
Using a four-panel gag comic as an example:
| Panel | Scene | Dialogue |
|---|---|---|
| 1 | Protagonist sitting at a computer, frowning | "How do I fix this bug?" |
| 2 | Colleague hands over a cup of coffee | "Why not take a break first." |
| 3 | Protagonist has a moment of inspiration after drinking the coffee | "I got it!" |
| 4 | Protagonist happily typing on the keyboard | "It's fixed!" |
3.2 Character Design
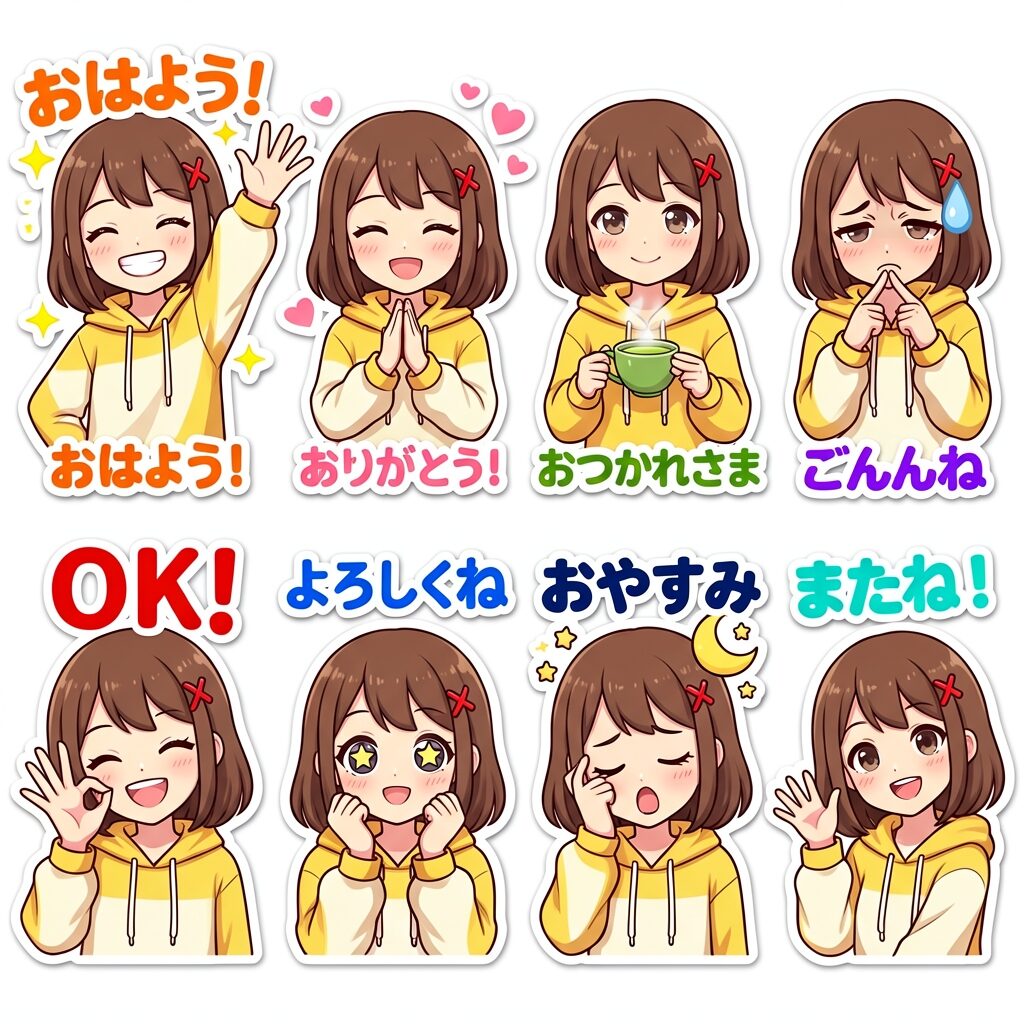
Character consistency is the most critical aspect of AI comic generation. It is recommended to generate standalone character design sheets before creating panels, locking down the following elements:
- Facial features: Hairstyle, eye color, face shape
- Costume color scheme: Primary and secondary colors
- Body characteristics: Height-to-proportion ratio, posture
Once character designs are finalized, extract a fixed description to serve as a character anchor in all subsequent panel prompts.
3.3 Scene Generation
Merge the storyboard table with character designs to write a prompt for each panel. Key techniques include:
- Use a fixed seed: Set the same seed value for all panels featuring the same character to reduce random drift
- Repeat character descriptions: Include the full character design text in every panel prompt rather than relying on the model to "remember" previous context
- Lock the color scheme: Anchor costumes with explicit color terms, such as "dark blue hoodie" or "white sneakers"
3.4 Dialogue Bubbles
ERNIE-Image supports specifying dialogue bubbles and their text content within the prompt. Best practices for speech bubble text rendering:
- Keep text inside each bubble to no more than 8 characters, as exceeding this may reduce recognition accuracy
- Use direct quotation format to clearly indicate which character each bubble belongs to
- For multi-line text, separate lines are more reliable than newline characters
IV. Detailed Character Consistency Techniques
4.1 Fixed Seed Method
In Diffusers calls, set a fixed random seed using generator=torch.Generator().manual_seed(seed). Combined with identical character description text, this significantly improves character similarity across panels.
from diffusers import ErnieImagePipeline
import torch
pipe = ErnieImagePipeline.from_pretrained("Baidu/ERNIE-Image")

gen = torch.Generator().manual_seed(42)
Use the same seed for the same character across different scenes
image_1 = pipe(prompt="A young programmer in a dark blue hoodie sitting in front of a computer", generator=gen).images[0]

image_2 = pipe(prompt="The same young programmer in a dark blue hoodie drinking coffee", generator=gen).images[0]
4.2 Reference Description Method
Write an "identity card" description for each character and embed it repeatedly in all related panel prompts:
Character A: Young male, short black hair, metal-frame glasses, dark blue hoodie and gray pants, white sneakers
Whenever the character appears in a new panel prompt, paste this full description rather than using pronouns or shorthand.
4.3 Color Locking Method
Color consistency is essential for character recognition. It is recommended to use explicit color combinations in character descriptions and avoid vague expressions like "dark-colored clothes". Recommended format:
[Character name], [hairstyle + hair color], [eye color], [primary clothing color + style], [secondary clothing color + style], [shoes + color]
Example: Xiao Ming, short black hair, brown eyes, dark blue hoodie, gray pants, white sneakers
V. Speech Bubble Text Rendering
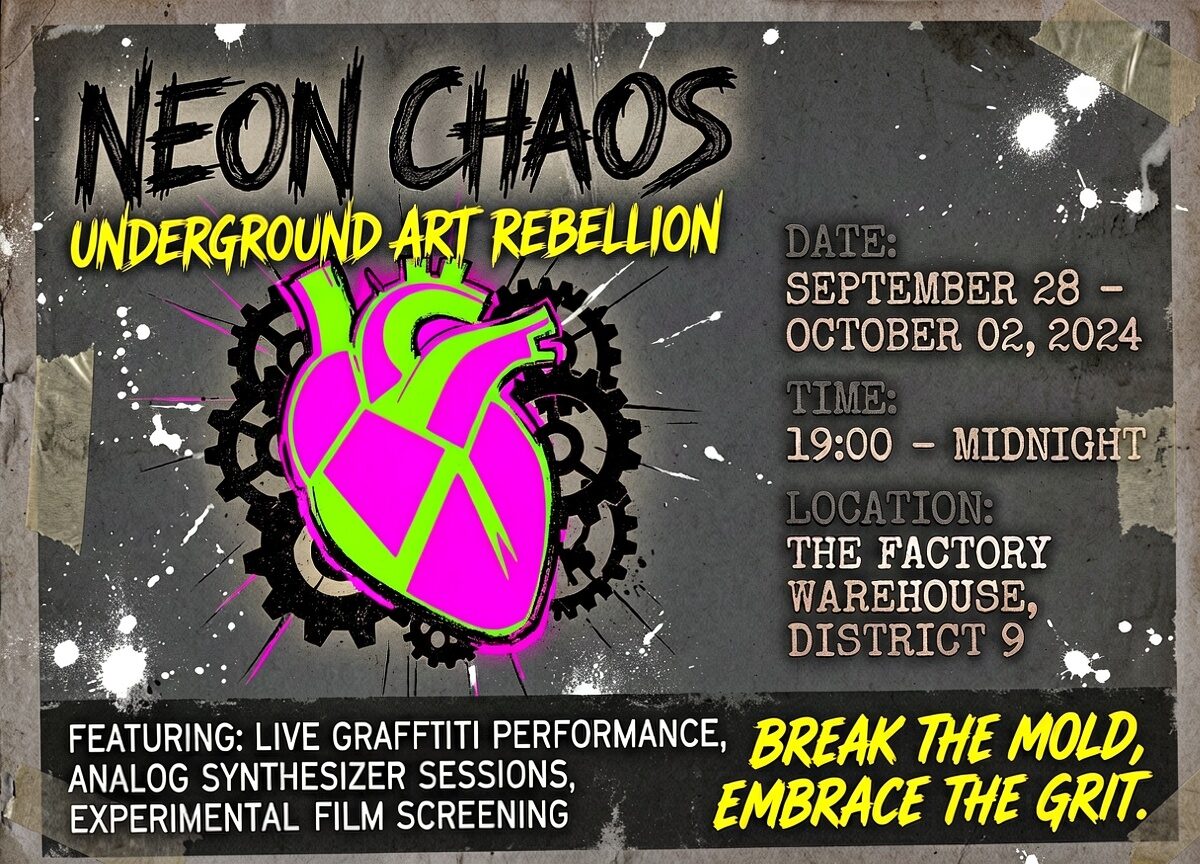
ERNIE-Image's text rendering capability is especially valuable in comic workflows. The model can generate dialogue bubbles containing text based on instructions within the prompt.
5.1 Precise Quotation Control
Explicitly label the text content and speaker attribution for each bubble in the prompt:
Four-panel comic, Panel 1: a programmer sitting at a computer, speech bubble above head reading "How do I fix this bug?", Panel 2: a colleague handing over coffee, speech bubble reading "Why not take a break first"
5.2 Character Count Limits
It is recommended to keep text in a single bubble per panel to no more than 8 characters. For longer dialogue:
- Split into multiple bubbles
- Use ellipses or abbreviations
- Move some dialogue to narration boxes
5.3 Font and Bubble Style Control
Bubble styles can be influenced through prompt descriptions:
- Regular dialogue: Use "white speech bubble", "black text"
- Inner monologue: Use "cloud-shaped bubble", "gray text"
- Narration: Use "rectangular narration box", "white background with black text"
- Emphatic tone: Use "irregular burst-shaped bubble", "red bold text"
5.4 Bubble Positioning
The model can typically place bubbles near the character's head automatically. For more precise control, add directional cues in the prompt:
Bubble positioned to the upper right of the character's head
VI. Practical Prompt Examples
6.1 Four-Panel Gag Comic
The following prompt can be used directly to generate a complete comic with a four-panel layout:
Four-panel comic, Japanese manga style, black-and-white line art. Panel 1: A young male programmer with short black hair, wearing glasses and a dark blue hoodie, sitting at a computer and frowning, speech bubble above his head reading "How do I fix this bug?". Panel 2: A colleague handing over a cup of coffee, smiling, speech bubble reading "Why not take a break first". Panel 3: The programmer's eyes light up after drinking the coffee, speech bubble reading "I got it!". Panel 4: The programmer happily typing on the keyboard, the screen displaying a green checkmark, speech bubble reading "It's fixed!"
6.2 Six-Panel Narrative Comic
Six-panel comic, full color, modern urban style. Panel 1: Early morning, a girl standing on a subway platform, long brown hair, red trench coat, gray scarf, anxious expression, speech bubble reading "I'm going to be late". Panel 2: The girl running through the crowd, motion blur effect. Panel 3: The subway doors about to close, the girl reaching out her hand, speech bubble reading "Wait!". Panel 4: Inside, a boy wearing glasses reaching out to hold the door, smiling, speech bubble reading "Hurry up and get on". Panel 5: The girl enters the car, the two lock eyes, blushing, speech bubble reading "Thank you". Panel 6: The subway in motion, city scenery outside the window, the two sitting side by side, warm atmosphere
6.3 Cinematic Spread Comic
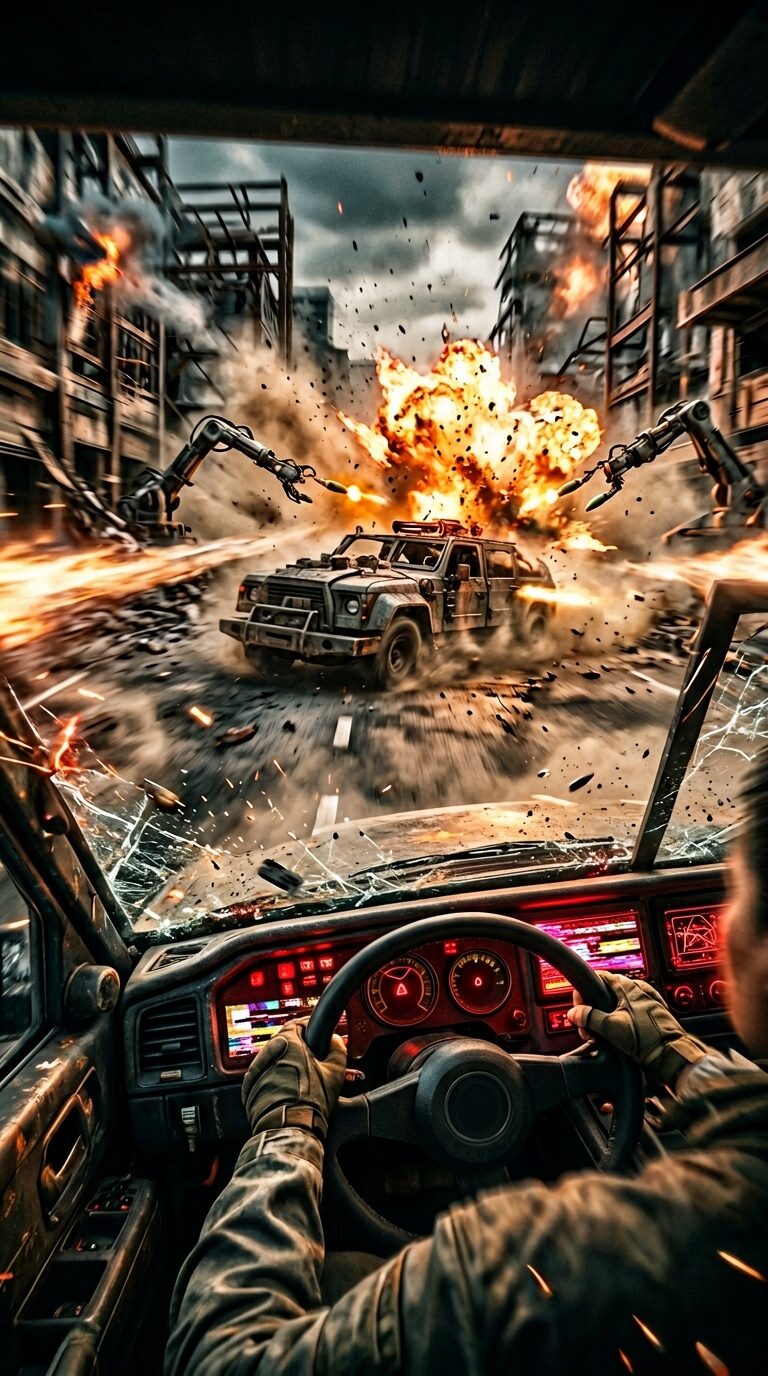
Cinematic-style spread comic, wide horizontal composition, science fiction theme. The image is divided into three panels. Panel 1 (occupying the left half of the image): A space station corridor, a female character in a white spacesuit with her back to the camera, facing a large observation window, speech bubble reading "Earth is so far away". Panel 2 (small panel in the upper right): Close-up of the character's eyes, a reflection of the blue Earth visible. Panel 3 (small panel in the lower right): The character's hand tightly gripping a communicator, speech bubble reading "Calling base"
VII. Multi-Panel Layout Strategies
The panel structure of a comic directly affects narrative pacing and visual impact. The following three layout strategies all perform well in ERNIE-Image.
7.1 Grid Layout
A classic comic layout with evenly sized panels and steady pacing. Suitable for dialogue-heavy narrative comics.
Suitable for: Four-panel gag comics, daily-life dialogue comics
Prompt keyword: Explicitly specify "four-panel comic, equal grid layout" or "six-panel comic, 3×2 grid" at the beginning of the description.
7.2 Manga-Style Layout
Panels of varying sizes adjusted according to narrative pacing. Action scenes use large panels or spanning panels; dialogue scenes use densely packed small panels.
Suitable for: Action comics, emotional narrative comics
Prompt keyword: Explicitly describe relative panel sizes, such as "the first panel occupies the upper half, the second and third panels are side by side in the lower half"
7.3 Cinematic Layout
Wide horizontal composition with panels arranged in a staggered cinematic storyboard pattern. Suitable for science fiction, suspense, and other genres.
Suitable for: Sci-fi comics, suspense comics, scenes with strong visual impact
Prompt keyword: Use keywords such as "cinematic style" and "wide horizontal composition", and describe the specific positioning of each panel
VIII. Limitations and Best Practices
8.1 Known Limitations
- Speech bubble text length: Recognition accuracy drops significantly when a single bubble exceeds 8 characters
- Complex multi-panel layouts: Panel layouts exceeding six panels may result in unclear panel boundaries or content crowding
- Character fine-tuning: Under the same seed, characters may still exhibit facial feature drift during dramatic pose changes
- Prompt length: The model supports a maximum of 2048 characters in the prompt, so multi-panel comics require concise descriptions
- Sampling parameters: The default
guidance_scaleis 4, with a valid range of 0–20. Excessively high guidance values may cause stiff-looking images
8.2 Best Practices
- Step-by-step generation: Use Turbo mode (8 steps) first to quickly validate storyboards and layouts, then switch to Standard mode (50 steps) to produce high-quality final versions
- Control variables: Adjust only one variable at a time (seed, prompt, guidance) to facilitate tracking the cause of changes
- Prompt conciseness: The 2048-character limit means prompts for multi-panel comics need to be efficiently organized. Recommended structure:
[Layout description] + [Character design] + [Sequential panel descriptions] - Prompt Enhancer: The model has the Prompt Enhancer enabled by default. For scenarios requiring precise control (especially speech bubble text), consider disabling it to avoid unintended rewrites
- Deployment choice: Diffusers calls are suitable for single-image iteration and debugging; SGLang deployment is suited for batch panel generation
- Resolution settings: For web publication, recommend 1024×1024 or 1024×1536; for print output, use 2048px or above
IX. Conclusion
ERNIE-Image demonstrates targeted strengths in comic generation: strong multi-panel layout understanding, controllable character consistency, and accurate speech bubble text rendering. By leveraging techniques such as fixed seeds, character description locking, and speech bubble text control, a stable AI comic generation workflow can be established.
In practice, it is recommended to treat AI as an "efficient drafting tool" rather than a "final output engine". AI-generated storyboards and compositions can serve as creative starting points, followed by refinement of details and text proofreading using traditional post-processing tools—this is currently the most pragmatic approach.
As the model continues to evolve and the toolchain matures, both the efficiency and quality ceiling of AI comic generation are steadily improving. Mastering the right prompt structure and workflow methodology is more important than relying on the capabilities of any single model.